Hello crafter's. How are you all?
Today I'm sharing a tutorial showing you how to use your pretty 12" papers.
This a a super easy project, and super quick. It's easy enough to make in bulk so it's perfect as teacher gifts, wedding favours or just a little 'thinking of you'. Let's get to it....
You'll need a 12" x 8.5" piece of paper so start with a 12" and cut one side down to size. I made several of these and I used both the 'Oh So Sweet' and 'Finding Paradise'
TOP TIP: when selecting your paper, double sided is better as both sides of the paper will show in the finished project. Also, choose a design which works any way round. I made one of these pouches with hearts all in the same direction. Once it was constructed, the hearts ended up upside down!
OK, start by scoring your card. Turn the car so it is landscape and score at: 1 1/4", 2 1/2", 5",7", 9 1/2 and finally 10 3/4" Now flip you card 90° and score at 2 1/2" and 6"

Now cut each square 2" corner off (ignore the first portrait score line, cut at the second and cut at the first landscape score line to get your square).

Now fold diagonally on themselves the outside corners.

Then, fold their respective sides in on each other. Like so:

Flip this over and fold at both the inside score lines.

Then fold the two top score lines in the opposite direction.

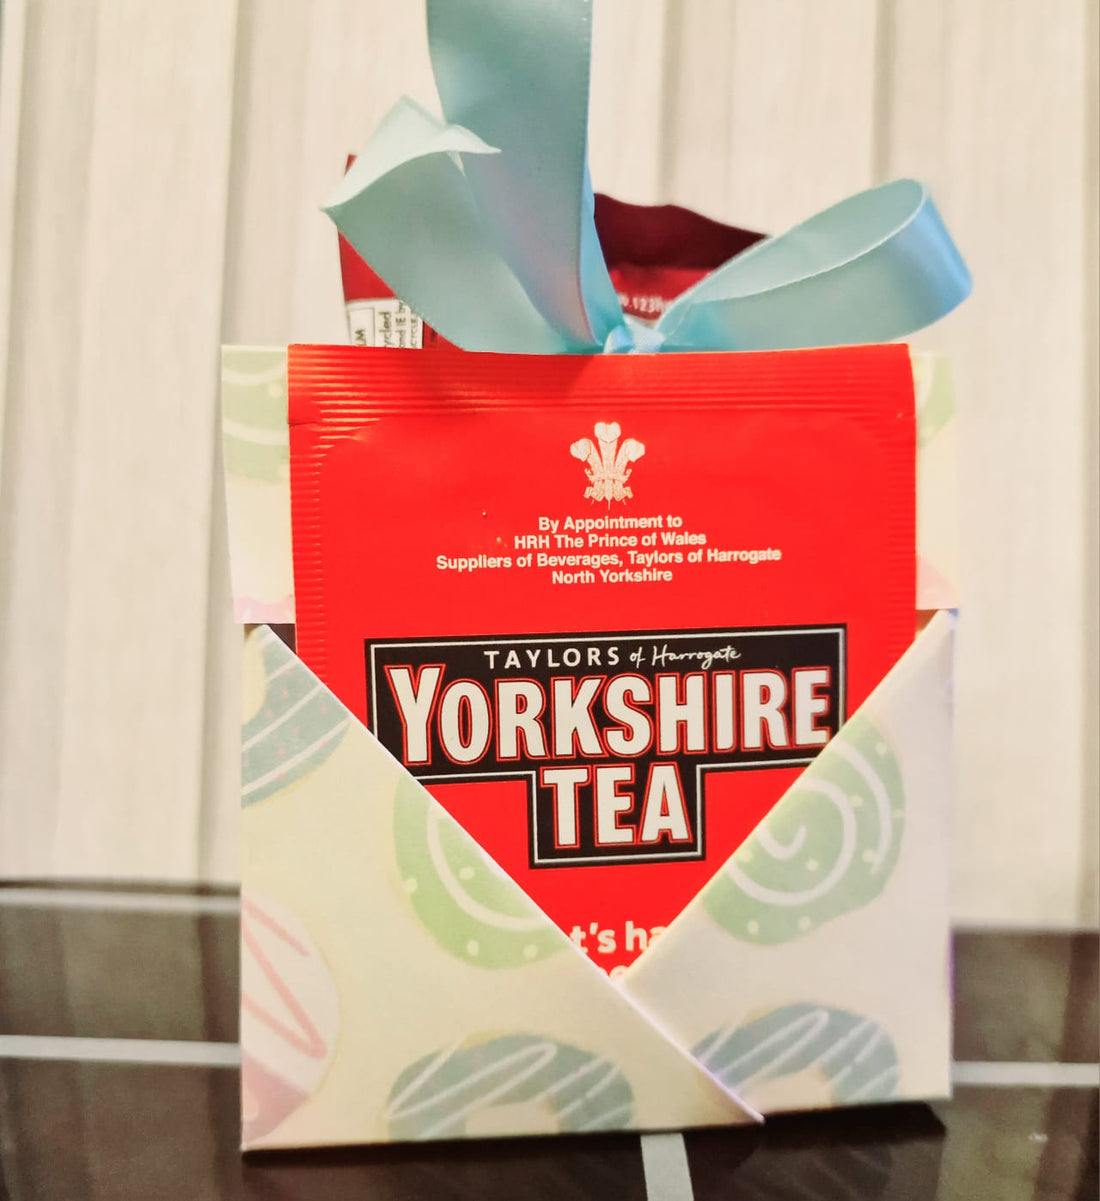
This is the construction of the pouch complete!

To finish, punch a hole in both of the top flaps. I would recommend reenforcing with an eyelet and finally tying it off with some ribbon.
With both pockets, you can fill with anything of your choice. You could even pop a little card in one pocket 😁
(I made several of these pouches so the tutorial pictures are a different paper to the final project)
Until next time, take care.
Love, Dani xx
------------------------------
Shopping List
* A score board a score tool
* hole punch and eyelet to reenforce
* ribbon