Hello crafter's!
How are you all? I hope you all had a happy, restful Christmas and New Year.
Did any one make any exciting resolutions? I don't tend to make resolutions myself. However, I have vowed to make more non-card making projects this year...
Starting with this mini photo album.
Now, although this was much simpler than I originally anticipated, I do think tweaks could be made to make the overall appearance 'tidier'. That said. It is handmade so we expect some Imperfections, right?
Let's talk through it...
I started by cutting to size 7 pieces of Kraft card. The largest being 15.6cm x 15.3cm. It went down in 6mm increments, so the next smallest was 15cm x 14.7cm, then 14.4cm x 14.1cm and so on.
I repeated this with my patterned card. I used the 'Forever Free 6in Paper Pad for this project
Each piece of patterned card I made approx 2mm smaller than its respective Kraft card base. Therefore, the largest was 15.4cm x 15.1cm and so on. Each piece dropped in size by 6mm until I'd completed all pieces.
Then, with both the Kraft and patterned card, I round the corners on JUST the right side edges using a punch tool.

I then adhered each piece of patterned card to it's respective Kraft card partner. I used Book Binding glue for this, ensuring each piece was completely covered and adhered firmly. This forms the pages.

Then I created some page anchors. This part could be done differently for a neater finish. Ideas on a postcard please!
I cut 6 pieces of card from Kraft card to 9cm x 3cm.

I folded each in half. Now ill try and explain the next part of the process as best I can... (!)
Excluding the largest page, I flipped over each of the pages, patterned side down. I found the centre of the straight edge (with non rounded corners). I applied glue to 1 outer side of the folded tab and adhered in place, in the centre of the straight edge right up to the edge.
Starting with the largest page, I starting layering all pages together. So, I placed the largest page facing up. I brought in the second largest. I placed it on top of the largest, right up against the left and central to the top and bottom. I placed the fold of the tab behind the largest panel and adhered with wet adhesive.
I brought in the 3rd largest page and repeated this process. I placed it on top of the 2nd largest page, right up against the left and central to the top and bottom. I placed the fold of the tab behind the largest panel and adhered with wet adhesive.
And so on until all pages were secured together.

I tied the album together by attaching some ribbon. I secured one piece of ribbon to the rear of the smallest front page using a staple. Then, a piece to the rear of the largest page in the same manner.

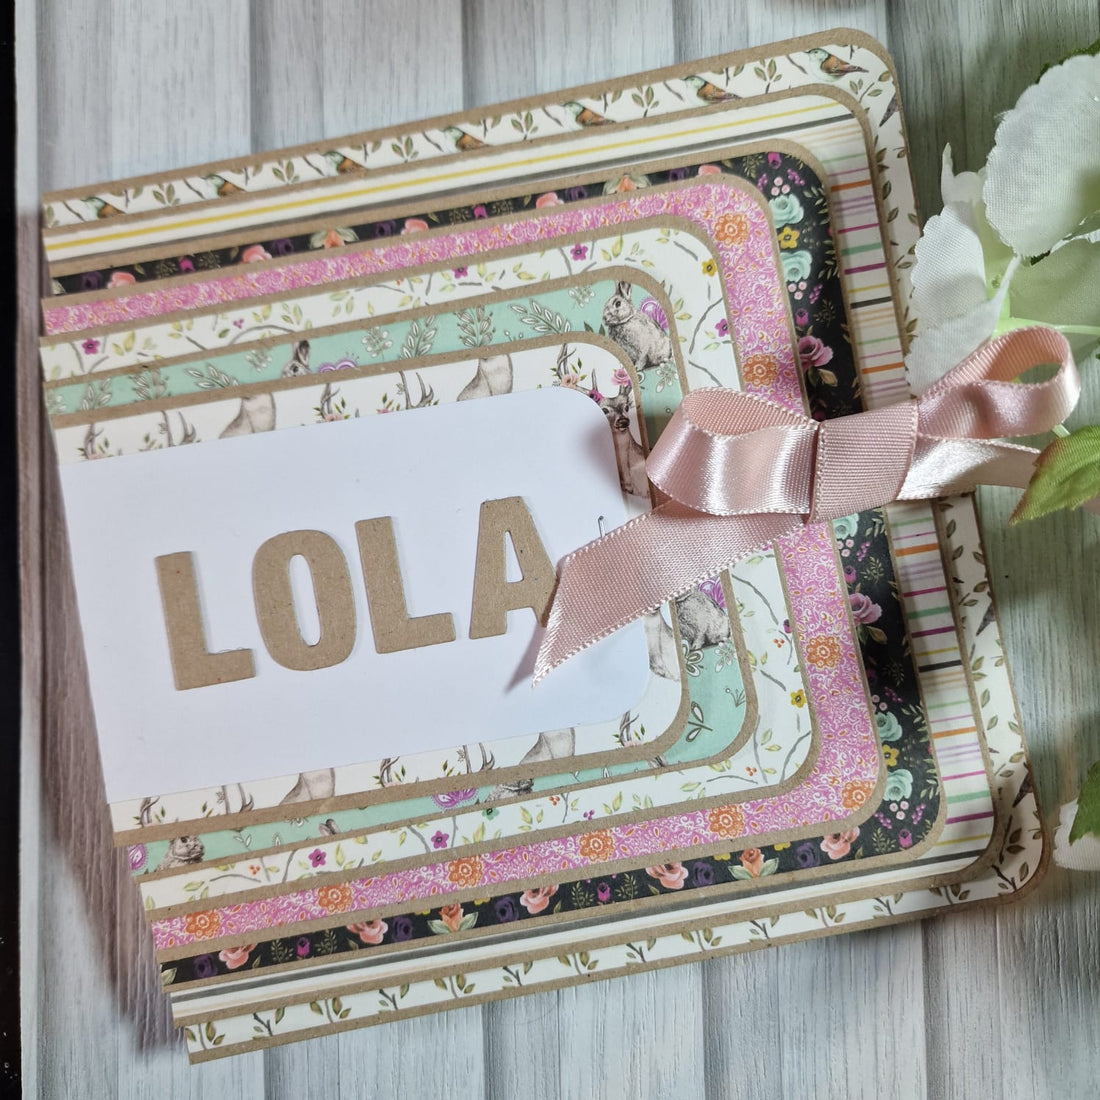
Finally, I personalised the album by placing a white panel approx 2mm smaller on the top, bottom and right side than the smallest page and to this, added a name using some alpha dies.
This is the album finished. The idea is to then add photos to each page, smaller than the page that comes before it, so they sit snuggly hidden away when the album is closed. You could also write a piece about each photo on the reverse on the previous page. Like a scrapbook I suppose!
I dedicated this album to my precious doggie Lola who we sadly lost a year ago. It will be filled with her most photos for us to look back on when we feel ready to.
I am hoping to do more of these as they are so easy to make, from memories in time using photos of the most precious moments.
I hope you enjoyed this tutorial. I'd love to see yours using some different patterned card perhaps?
Until next time, take care.
Love, Dani xx
* A patterned paper pad - I used Forever Free 6in Paper Pad for this project
* Kraft Card
* Book binding glue
* Ribbon
* Stapler
* Rounded corner punch